
Easy Eats With Emma – Bread!
March 8, 2022
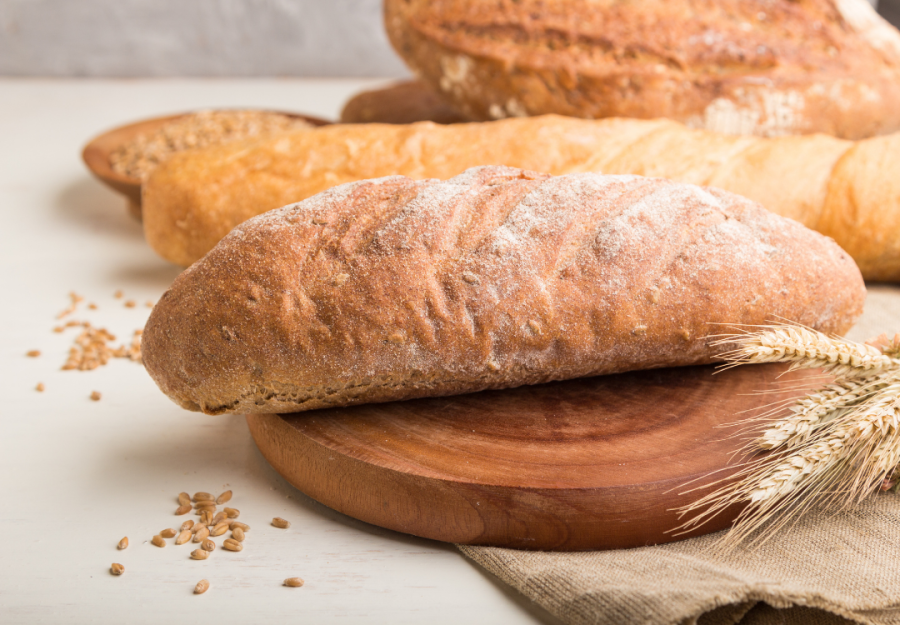
Hey Shield Readers! We all want fresh bread and although I know this trend has been over for a long while I’m still consuming multiple loaves of fresh bread a week. Here’s my go to bread recipe, which uses AP flour so everyone can make it.
Ingredients: (Makes 3 Mini Crusty Artisan Loaves, Or 1 Regular Sized One)
250 grams of All Purpose Flour
2.5-3 grams of Active Dry Yeast
5 grams of Salt
187.5 grams of Warm Water
(Yes I’m using the metric system. We’re baking. There are many cheap scales on Amazon and I refuse to use cups when making bread.)
-
Take your water in a large mixing bowl and sprinkle the yeast on top. Add a spoonful of flour (as food for the yeast), mix well, and let stand for seven minutes.
-
Add in your remaining flour and salt and mix until you have a wet, shaggy dough with all the flour fully incorporated. Cover with plastic wrap and let stand for thirty minutes.
-
Now it’s time for stretch and folds, along with the bulk ferment. Lift the plastic wrap off your mixing bowl, wet your hands well, and then grab one corner of the dough, pull it up as far as it can go without tearing, and then fold it over the dough. Turn the bowl ninety degrees, and repeat the process. Continue until all four sides are done. This is a great way to work your dough without having to knead such a high hydration dough.
-
Let the dough rest for thirty minutes then do another set of stretch and folds. Repeat until the dough has rested for a total of two hours.
-
Preheat the oven to 400 degrees. Fill up a rimmed oven safe dish halfway with water and place it on the bottom rack of the oven as it preheats. This will ensure a crust to die for.
-
For the next part, coat everything you’re working with in oil, or the dough will stick to everything. Divide your dough into three even pieces (or just one large one), and then place one in front of you. To shape perfect little round loaves, take one corner of the dough and fold it to the other side. Turn the dough ninety degrees and repeat until you do all four sides. Then flip the dough over and you should have a perfect little round dough ball to place on your baking sheet. Repeat with all dough balls.
-
Right before you put your dough in the oven, take a sharp knife and cut a line across the top of the bread. This is what causes your bread to rise. Do it quickly and decisively or it will not work. There are hundreds of resources online for this exact process, so check them out if you’re struggling.
-
Pop your loaves in the oven and bake until the crusts are a deep brown. There’s a reason fairytale stories describe bread as having dark crusts. It’s because the darker the crust the better the flavor, and that’s from experience.
-
Pull them out and LET THEM COOL. If you eat your bread right out of the oven, it will taste doughy and horrible. Let them cool for at least fifteen minutes, cut into slices, and enjoy with a variety of spreads. I prefer butter and flaky salt. It hits the spot every time.
Enjoy!